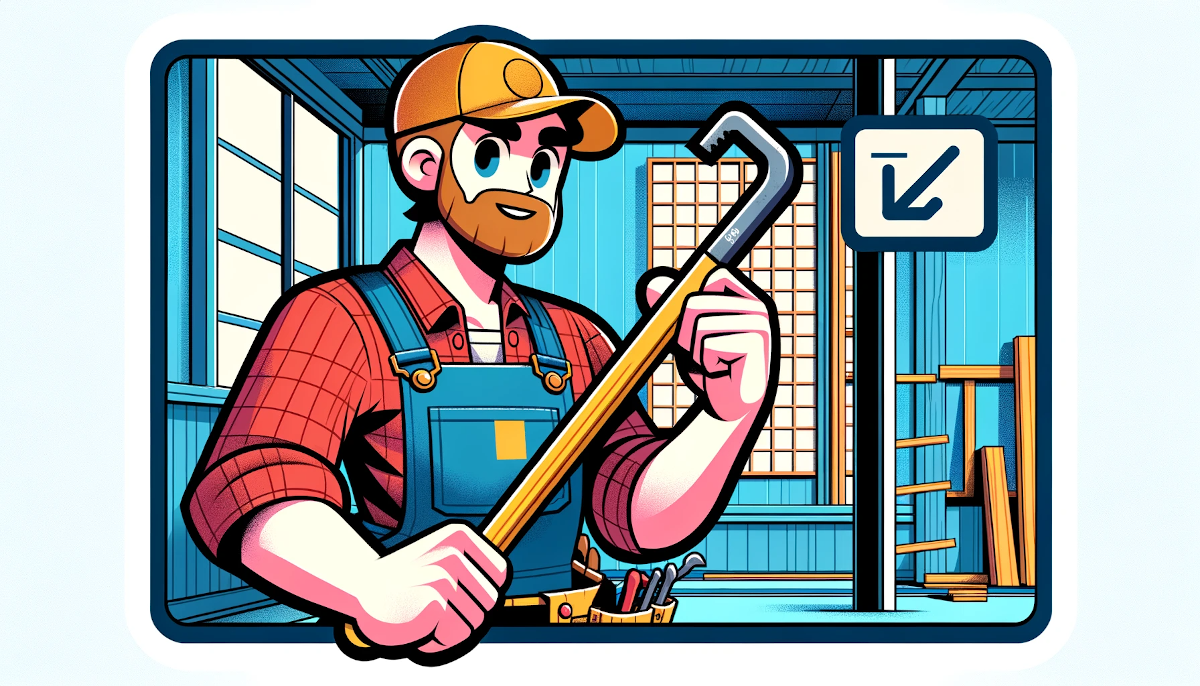
In this article, Japanese carpenters will explain how to use a crowbar, tips for removing nails, and how to choose the right one, all for the benefit of DIY enthusiasts. The skill and speed of demolition can make a significant difference in home remodeling, but it’s important to note that the ease of use also varies greatly depending on the choice of crowbar. Furthermore, using it incorrectly can pose a high risk of injury, so we hope you’ll master the correct usage method.
日本語版の記事(バールの使い方【プロが解説】釘抜きのコツや解体方法)はコチラ
List of Contents
Article Author
Kentarou Fukata
A Kyoto, Japan native born in 1985, I am a seasoned carpenter boasting five national qualifications in housing-related disciplines in Japan. Committed to the dissemination of carpentry expertise, I actively contribute to professional development within the field through instructional content on YouTube.
Introduction Video
Complementing the guide is an informative video designed to augment comprehension.
If you wish to utilize features like subtitles, please reopen the video on YouTube. You can access the subtitles through the ‘CC’ button on the playback screen or in the settings.
The Characteristics of a Crowbar
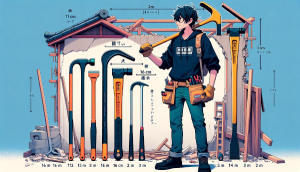
A crowbar is a versatile tool but also comes with its fair share of dangers. It’s essential to understand its features and use it safely.
Differentiate by Size and Type
Carpenters use crowbars ranging from as short as 16 cm to as long as 1 meter. To adapt to various situations, they keep various types of crowbars on hand and use the appropriate one as needed.
Utilized for Demolition
In remodeling projects, crowbars play a crucial role, especially during demolition work. During construction phases like new builds, they are seldom used unless something goes wrong. Their use can create significant noise, which can draw attention if mistakes are made.
Inherent Risks
Being a solid piece of metal, a crowbar can damage materials just by falling on them. Additionally, using a crowbar for demolition is physically demanding work. Job sites often have cluttered surroundings, increasing the risk of accidents and injuries.
How to Choose a Crowbar and Recommended Products
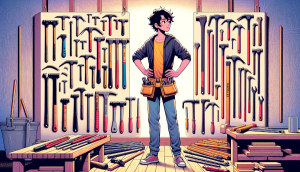
There are many types of crowbars available, and since they are generally affordable tools, it’s a good idea to try out several to find the one that suits you best. I’ll also introduce some of my recommended products.(Includes promotional content)
Types of Crowbars
Size (Length)
In carpentry work, it’s essential to have at least three different sizes of crowbars on hand: a small size of about 16 cm, a regular size of around 30 cm, and a larger size exceeding 1 meter.
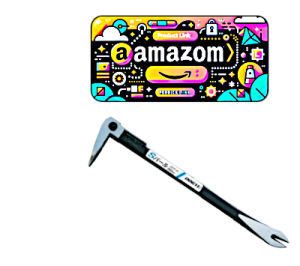
Dogo Japan’s Striking Crowbar (333mm)
Designed with both ends capable of hammering towards nail heads, it’s highly versatile and commonly used due to its adaptability in various situations.
Dogo’s Compact Crowbar (160mm)
A smaller version of the type introduced above, this compact crowbar is ideal for carrying in a tool belt without worry due to its size.
Shape of the Tip
The standard shapes for crowbar tips include those designed for nail removal, spatula-shaped ones, and types that fall in between. There are also specialized shapes for tasks like flooring work.
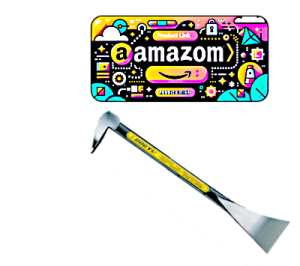
A spatula-shaped type
A 250mm interior bar
Differences Due to Material
Crowbars come in various materials, including iron and stainless steel. Stainless steel crowbars do not rust but tend to be more expensive and softer than iron, making them more prone to bending and wearing out quickly. There are also lightweight hollow iron models available.
Tools Used by Demolition Experts
Professional demolition experts use a tool known as ‘バチグワ’ (Bachiguwa), which is a type of hoe used for demolition. In carpentry, the precise demarcation between the sections to be demolished and those to be left intact is critically important. While the ‘バチグワ’ provides formidable demolishing power, mastering its controlled application requires skilled technique.
Recommended Type
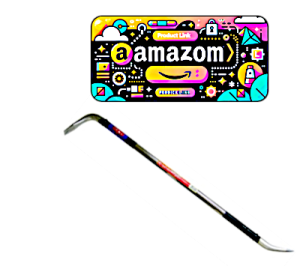
The type I recommend is the ‘バラシバール’ (Barashi Bar), a lightweight, hollow crowbar with a length of 1 meter. Its angled and shaped tip is highly efficient for demolition tasks.
A recommended demolition bar
A 1050mm type with a non-crossed tip
With crowbars, whether for prying or striking, greater length results in increased force. Despite its extended length, this particular crowbar is lightweight and easy to handle, making it a powerful asset during demolition work.
Applications of a Crowbar

By leveraging the features of a crowbar, it can be employed for various purposes. Always prioritize safety when undertaking potentially hazardous tasks.
Removing Driven Nails
This is the most common use of a crowbar, especially with standard and smaller sizes. To remove a nail, you hook the crowbar under the nail head. However, if the nail is deeply embedded in the material, you may not be able to hook it easily. Standard-sized crowbars are designed with a shape that makes it easy to drive them in, so you can tap the crowbar towards the nail head and then remove the nail.
Prying and Lifting
By inserting the crowbar between what you want to pry off and the attached material, you can dismantle it along with any nails. For example, when prying something off plywood, it might tend to spring back into place. To prevent this, additional support such as using two crowbars may be necessary.
Hammering Out
When engaged in extensive demolition work, use the crowbar for hammering instead of a regular hammer. However, swinging a long metal rod can be dangerous, so ensure your surroundings are clear and be cautious about the direction debris might fly. Vigorous hammering can look chaotic and potentially frighten others, so adjust your force and aim for a controlled and elegant demolition.

Leveraging
Apart from demolition, crowbars can be used as levers for lifting materials or widening gaps between components.
Digging and Loosening Soil
Crowbars also come in handy for digging in soil. When breaking concrete or digging into hard ground, using a crowbar to loosen it can make it easier to work with a shovel.
Situations Where More Effective Methods Exist Than Using a Crowbar
Driving Out Nails
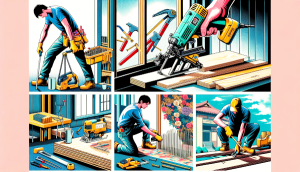
When there is a need to lift a 9mm plywood sheet used in exterior structures, there is a method where instead of pulling out the nails, you intentionally drive them in to easily lift the plywood. This method involves emptying the nail gun, setting the depth adjustment to drive the nails deeper, and aiming for the nail heads to drive them out. After lifting the plywood, remove the nails with a crowbar.
Making Incisions
In cases where materials fixed with adhesive and nails need to be removed, taking the extra step of making incisions with a circular saw for demolition can be a faster way to dismantle them. Wood can be easily split by cutting through its fibers. Utilizing this principle to split components fixed with adhesive will also expose the nail heads, making them easier to deal with.
Using Water Pump Pliers for Extraction
Water pump pliers can be extremely useful for extracting small nails or staples. You firmly grip the nail head with the pliers’ tips and tilt them like a lever, allowing you to remove the nail using the leverage principle. In the case of small finish nails protruding from the material, you can use water pump pliers to grip the tips and pull them out in the direction they were driven.
Tips for Using a Crowbar
If possible, try to revert nails
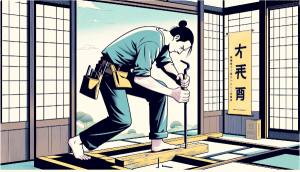
When dealing with materials fastened with nails, it’s advisable to try to revert the nails. Lift both the material and the nails together, and then tap the material back down to expose the nail heads.
Tap gently when removing
When using a crowbar to remove nails, leverage the principle of a lever to dislodge the nails held in place by friction. Slightly lift the pivot point of the crowbar and then tap it back with force to extract the nails.
Precisely aim when piercing
When using a large-sized crowbar for demolition, there’s no need for a nail set to drive in the crowbar tip. Instead, aim precisely and use momentum to pierce it.
Use a hammer to assist in removal
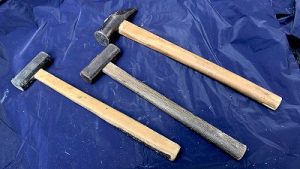
In cases where you don’t want to damage the pivot point of the crowbar when removing nails, you can hook the nail with the straight end of the crowbar and use a hammer to tap the handle (center) of the crowbar to remove the nail.
Removing nails with no heads
Older nails often have their heads rusted away, making it impossible to hook them conventionally. Since the iron used in nails is softer than the crowbar, you can drive the crowbar into the base of the nail you want to remove, causing it to bite and catch.
Usage Precautions

Hold the crowbar by the end
When using a crowbar, you apply significant force to pull objects. If the tip doesn’t catch well, it may come loose in the direction you’re pulling. To maintain control, always hold the crowbar by the end to avoid potential accidents.
Avoid carrying it unnecessarily
Standard-sized crowbars are heavy chunks of metal, heavier than a hammer. Some people may carry them in their tool belts at all times, but since crowbars are primarily used for demolition, there’s no need to carry them around constantly. Carrying one can pose unnecessary risks, so it’s best to avoid it whenever possible.
Conclusion
Did you find the information about pry bars helpful? In renovation projects, the skill to use a pry bar is extremely important. However, equally crucial is the skill to plan construction in such a way as to avoid the need for a pry bar. I encourage you to focus on both aspects. Personally, I didn’t expect the discussion about pry bars to be so extensive. Carpentry tools are intricate and fascinating, aren’t they? Please prioritize safety and enjoy your DIY projects.
